
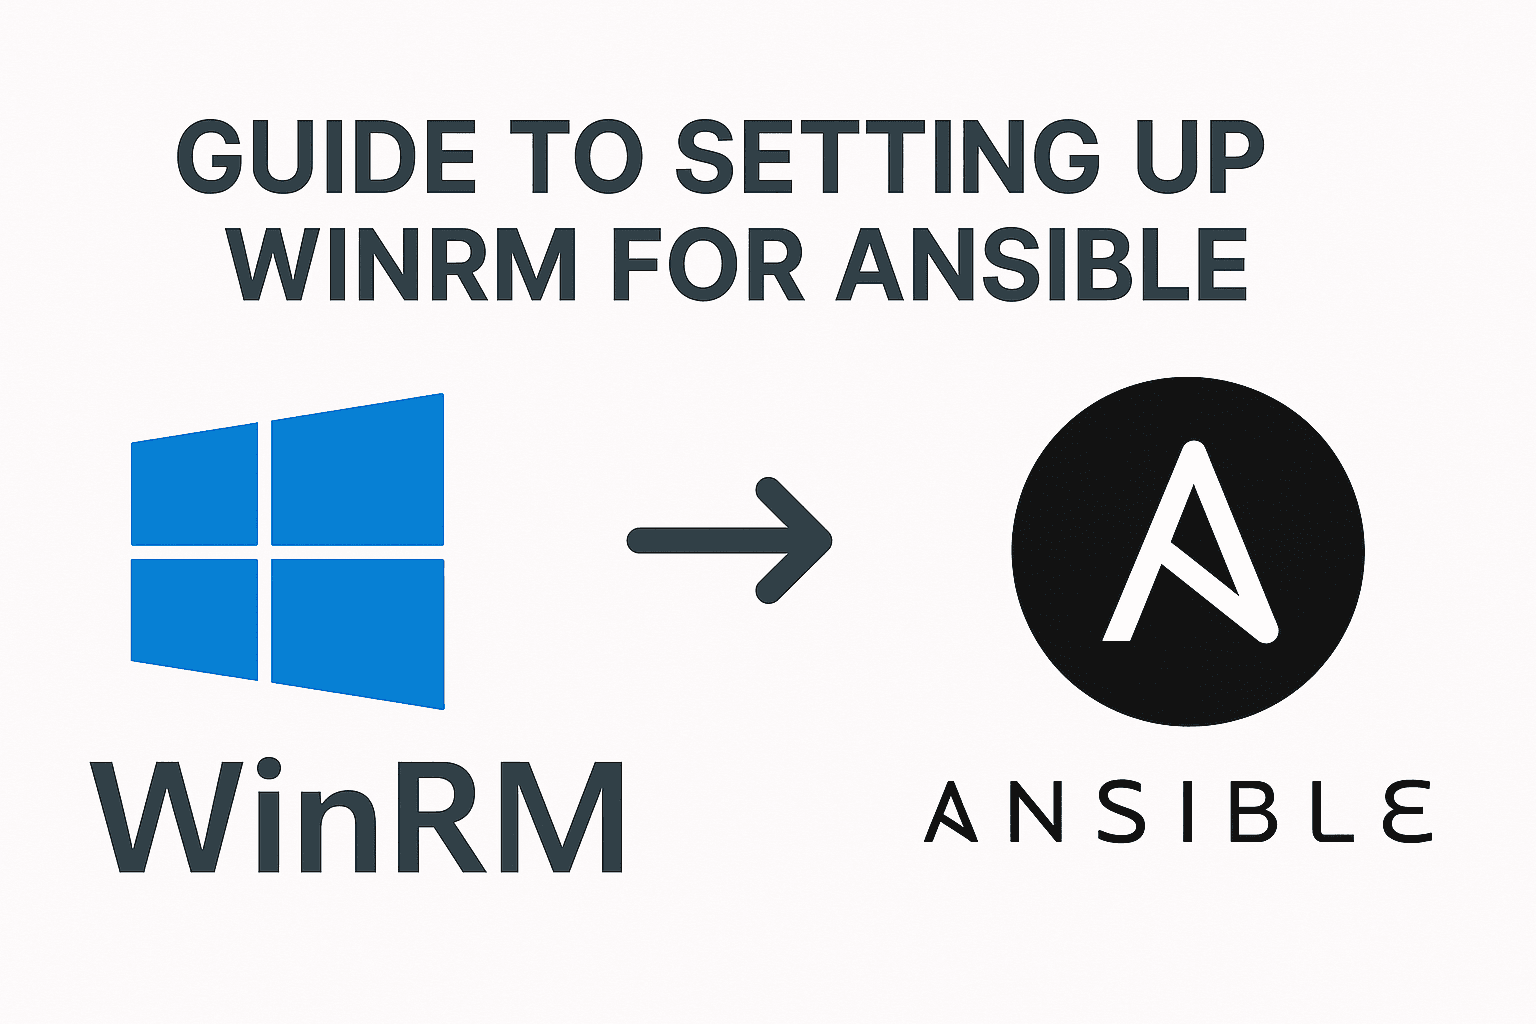
How to Use Ansible in Windows: WinRM Setup
Step-by-Step Guide to Configuring WinRM for Ansible on Windows
👋 Hi, I’m Hardik, a DevOps Engineer passionate about automation, cloud-native systems, and building reliable infrastructure. 🗣️I can speak: German, English, Hindi, and Sindhi
When people think of Ansible, they usually picture Linux servers. But Ansible can also manage Windows systems and it does so through WinRM (Windows Remote Management).
If you’re just starting with automation or DevOps, this step might sound intimidating. Don’t worry. In this guide, I’ll walk you through the easiest tested method of configuring WinRM so your Ansible control node (Linux) can talk to your Windows machines.
By the end, you’ll be able to run Ansible playbooks directly against Windows.
1. Requirements on the Ansible Control Node
First, let’s prepare the Linux machine where Ansible will run (the “control node”):
Python 3 (ideally inside a virtual environment)
Ansible installed
The pywinrm Python package
Install pywinrm with:
pip install pywinrm
This package allows Ansible to communicate with Windows via WinRM.
2. Create a Windows User for Ansible
On the Windows machine, we need a dedicated user that Ansible can log in with.
You can create it either through the GUI or PowerShell.
GUI method:
Open Computer Management → Local Users and Groups → Users
Right-click → New User → create a user (for example,
ansible_user)
PowerShell method:
New-LocalUser -Name "ansible_user" -Password (Read-Host -AsSecureString "Enter Password") -FullName "Ansible User" -Description "User for Ansible Automation"
Next, give this user administrator rights so it can perform privileged tasks:
Add-LocalGroupMember -Group "Administrators" -Member "ansible_user"
3. Open Required WinRM Ports
Ansible talks to Windows over WinRM, which uses these ports:
5985 → HTTP (default, unencrypted)
5986 → HTTPS (encrypted, recommended)
Make sure your firewall allows inbound traffic on these ports.
4. Configure WinRM Listeners
Now we need to enable and configure WinRM listeners (these are what “listen” for connections).
Basic HTTP listener (quick start)
Run this in PowerShell:
# Enable WinRM service and HTTP listener
Enable-PSRemoting -Force

# Open firewall for port 5985
$firewallParams = @{
    Action      = 'Allow'
    Description = 'Inbound rule for Windows Remote Management via WS-Management. [TCP 5985]'
    Direction   = 'Inbound'
    DisplayName = 'Windows Remote Management (HTTP-In)'
    LocalPort   = 5985
    Profile     = 'Any'
    Protocol    = 'TCP'
}
New-NetFirewallRule @firewallParams

# Allow local user accounts for WinRM
$tokenFilterParams = @{
    Path         = 'HKLM:\SOFTWARE\Microsoft\Windows\CurrentVersion\Policies\System'
    Name         = 'LocalAccountTokenFilterPolicy'
    Value        = 1
    PropertyType = 'DWORD'
    Force        = $true
}
New-ItemProperty @tokenFilterParams
Optional: HTTPS listener (recommended for security)
If you’d prefer encrypted communication, run this additional setup:
# Create a self-signed certificate
$certParams = @{
    CertStoreLocation = 'Cert:\LocalMachine\My'
    DnsName           = $env:COMPUTERNAME
    NotAfter          = (Get-Date).AddYears(1)
    Provider          = 'Microsoft Software Key Storage Provider'
    Subject           = "CN=$env:COMPUTERNAME"
}
$cert = New-SelfSignedCertificate @certParams

# Create HTTPS listener
$httpsParams = @{
    ResourceURI = 'winrm/config/listener'
    SelectorSet = @{
        Transport = "HTTPS"
        Address   = "*"
    }
    ValueSet = @{
        CertificateThumbprint = $cert.Thumbprint
        Enabled               = $true
    }
}
New-WSManInstance @httpsParams

# Open firewall for port 5986
$firewallParams = @{
    Action      = 'Allow'
    Description = 'Inbound rule for Windows Remote Management via WS-Management. [TCP 5986]'
    Direction   = 'Inbound'
    DisplayName = 'Windows Remote Management (HTTPS-In)'
    LocalPort   = 5986
    Profile     = 'Any'
    Protocol    = 'TCP'
}
New-NetFirewallRule @firewallParams
5. Verify the Listeners
Check that your listeners are active:
winrm enumerate winrm/config/listener
You should see entries for port 5985 (HTTP) and/or 5986 (HTTPS).
6. Configure Your Ansible Inventory
Finally, tell Ansible how to connect to the Windows host.
Edit your inventory.ini file on the control node:
[windows]
winhost01 ansible_host=192.168.1.50

[windows:vars]
ansible_user=ansible_user
ansible_password=YourStrongPassword
ansible_connection=winrm
ansible_winrm_transport=basic
ansible_port=5985
Replace
192.168.1.50with your Windows machine’s IPIf you configured HTTPS, set
ansible_port=5986
Wrapping Up
That’s it—you’ve successfully set up WinRM for Ansible. With this configuration, you can now start using Ansible playbooks to automate tasks on your Windows machines.
If you want to dive deeper, the official Ansible documentation on Windows is a great next step.